- Open Table management
- Add your restaurant areas and/or rooms at the bottom of the screen - Add Dining Room near the Save button. Having more dining areas provides more flexibility in controlling online reservations
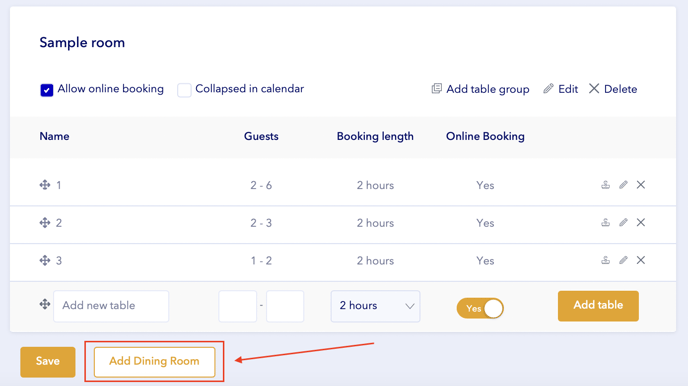
- Select whether you want to allow online reservations for each area
- The priority dictates which dining area will be seated first (1 = highest priority) and listed at the top of the Calendar.
- Expand in calendar – use this option only for seasonal dining areas (such as outdoor spaces), when online reservations are turned off (it helps to save space on the calendar). For daily use, we recommend leaving it off so you can always see all reservations at a glance.
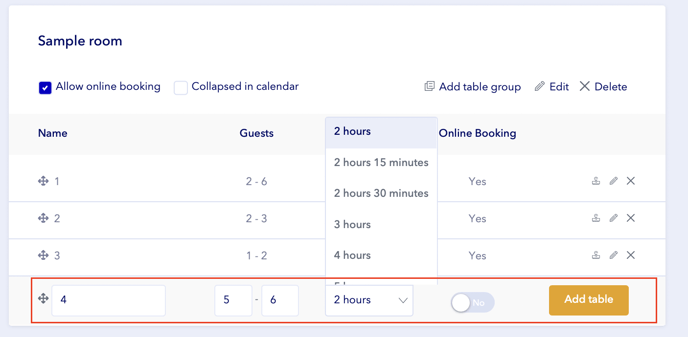
- Add tables into each area:
- Add table name
- Select number of guests (it is important to avoid overbookings)
- Select booking length for online reservations (for larger tables we recommend to select more hours as it requires more time to serve)
- Select if you want to allow online bookings for specific table
- Save your progress
Learn how to merge tables to accept larger parties - Table groups